Landscape Photography can be quite intimidating especially to new photographers. Aside from the fact that it entails quite a bit of leg work, it can also seem as if it requires a lot of unique pieces of gear.
Landscape Photography is heavily reliant on the photographer’s creative vision. It is not just about going places, setting up a tripod, and pressing buttons, this kind of photography requires creative vision that only comes with lots and lots of practice. Certain techniques are used by landscape photographers to come up with distinct visual effects instead of just capturing what was present in the scene. One of the most popular techniques, is of course, the use of long exposures. Long exposures are commonly done across different genres of photography especially for when there is minimal ambient light. But aside from that, long exposure techniques are used to create certain textures or patterns out of moving elements in the scene. But how can we do long exposures when the light conditions are very bright? That’s where filters come in.

Santa Monica Pier just after sunrise. Shot with a 3-stop ND filter to achieve the silky texture of the water.
There are various types of filters that are applicable in landscape photography, but generally, filters only have one purpose and that is to decrease the amount of light that gets to the sensor during the duration of your exposure.
Neutral Density Filters
Also known as ND filters, these filters decrease the amount of light that enters the sensor throughout the entire frame. As a result, it virtually darkens the entire image from left-to-right, and top-to-bottom. They come in different variants known as “stops” which pertain to the number of times that the amount of light is decreased by half. 3-stop filters decrease the light by half thrice, hence it is called an ND8 (1/8 of the original amount of light).

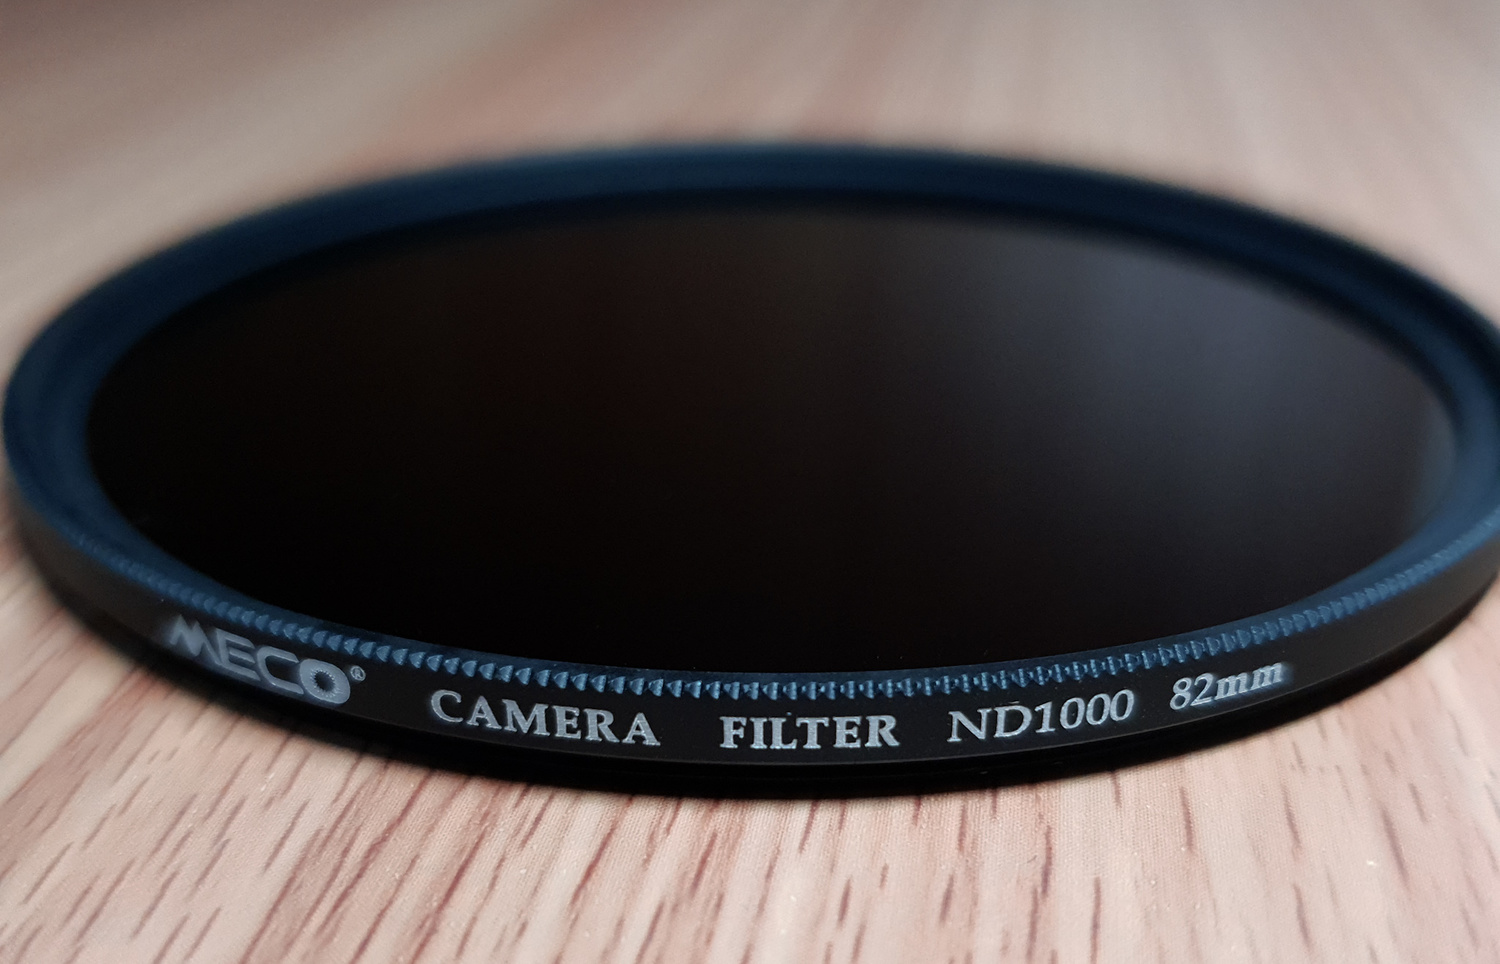
A 10-stop ND Filter: Decreases the amount of light by half 10 times with a result of 1/1024th of the original amount of light
A 6 and 10 stop ND filter decrease the amount of light by half 6 times and 10 times respectively and are called ND64 and ND1000 (decrease to 1/64 and 1/1024 of the original amount of light). Each stop of light applied by your filter, then allows you to double your exposure time. An ND1000, with 10 stops of light, allows you to double your exposure time 10-fold. That means that a photo with balanced exposure taken at 1/100 shutter speed, will have the same amount of light with an ND1000 if exposed for 16 seconds (aperture and ISO remain the same). For those 16 seconds, moving objects in frame such as clouds or running bodies of water, will come out with smooth textures in the end.

A daytime 1-minute long exposure with a 10-stop ND filter
Though there are many different types of ND filters in the market, a good start would be an ND1000 filter for you to try and max out exposure times in broad daylight and experiment with the different effects.
Circular Polarizer

Circular Polarizing Filter made up of 2 layers of glass
Circular Polarizers work in such a way that they redirect scattered light from reflective objects that produce a glare into directional light results to clearer images and more vivid colors. CPL filters have 2 layers of glass that control the redirection of light by rotating the outer layer. In effect this amplifies the blue tone of the daytime sky and can eliminate or amplify reflections in bodies of water.

Used a CPL filter to give intensify the blue sky and emphasize the reflection on the surface of the water
The Starter Combination

A 45-second exposure with a ND1000 CPL or Dark CPL filter
This combination allows for various exposure times depending on the time of day, and intensified the blue tone of the sky and reflection on the water
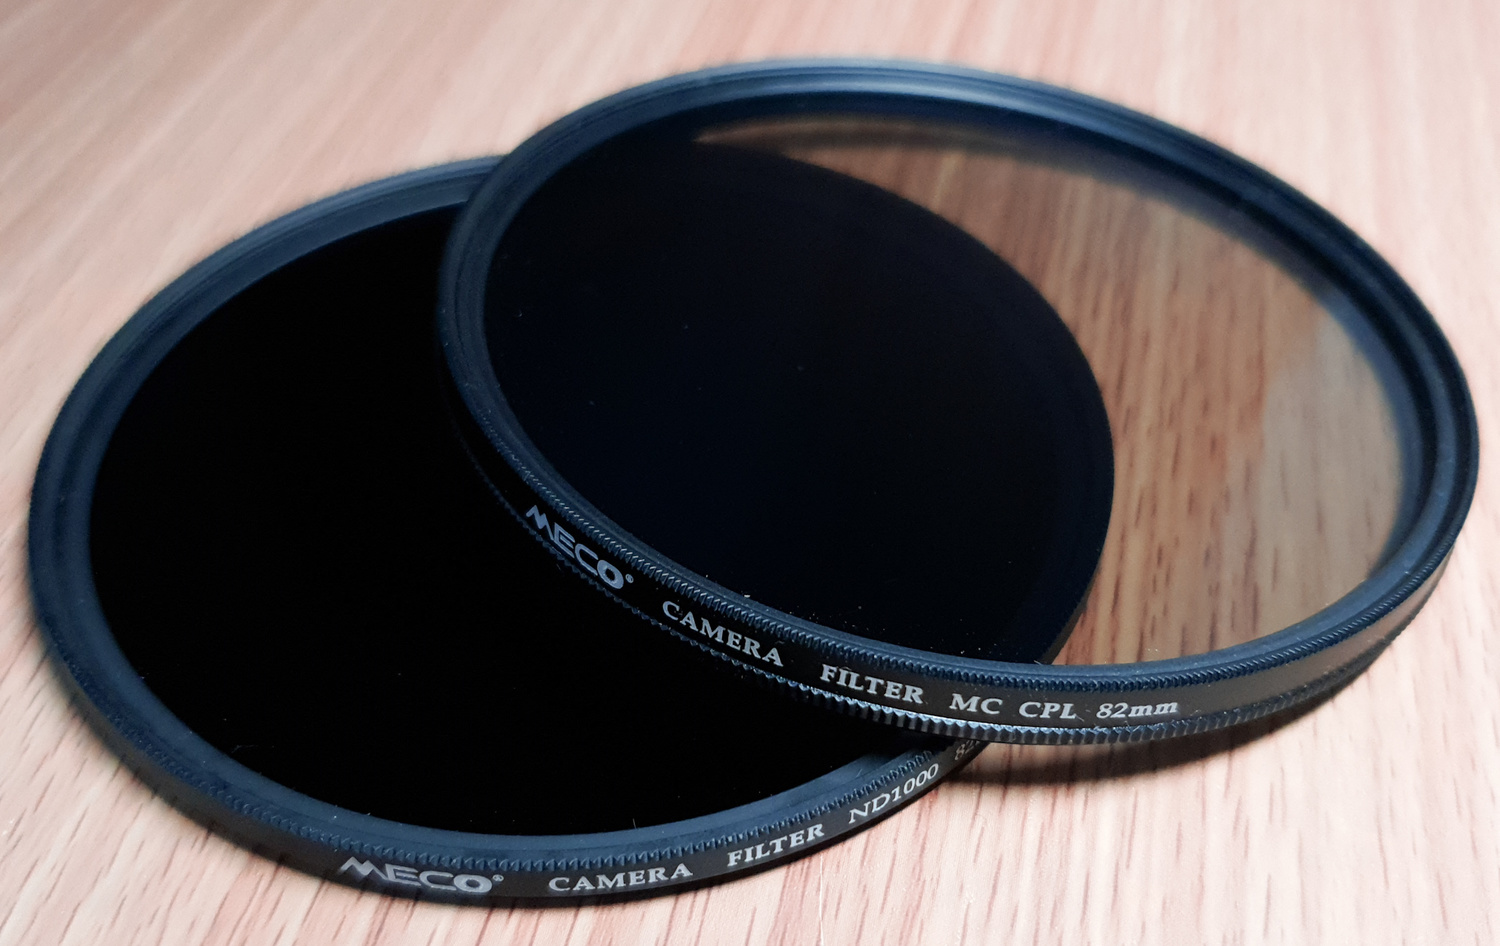
3 years ago, I would often advise photography newbies who ask about trying out landscape photography to get an ND1000 filter and a CPL for the reason that this can be a good start for learning exposure techniques and at the same time coming up with more balanced exposures. Nowadays, these 2 filters come as a combination. Certain filter brands have basically put the two types in just a single filter which makes it more economical for those who just want to try things out and not invest right away on an entire set. This combination filter limits the light 10-fold and at the same time redirects the light with the rotation of the outer layer.

An example of a combination filter ND1000 CPL
For a newbie who just wants to try out shooting with filters, this combination can allow you to play around with different exposure times in different light conditions and different motion elements. Having them in one filter generally lessens the cost of just trying it out. Once you get a hang of it, you will know when to move to more complicated filter setups and formats.


Thanks, just what I've been wondering about. Been shooting wildlife with a telephoto lens but I've never really used filters before.
Grey grads are useful too.
Why does there seem to be a prevalence of over saturated images these days?
Looks like a product placement: I never heard of Meco filters and strangely no major filter maker (Zeiss, B+W, Kenko/Hoya) offers a 2-in-1 CPL with 10 stops nd combination.